
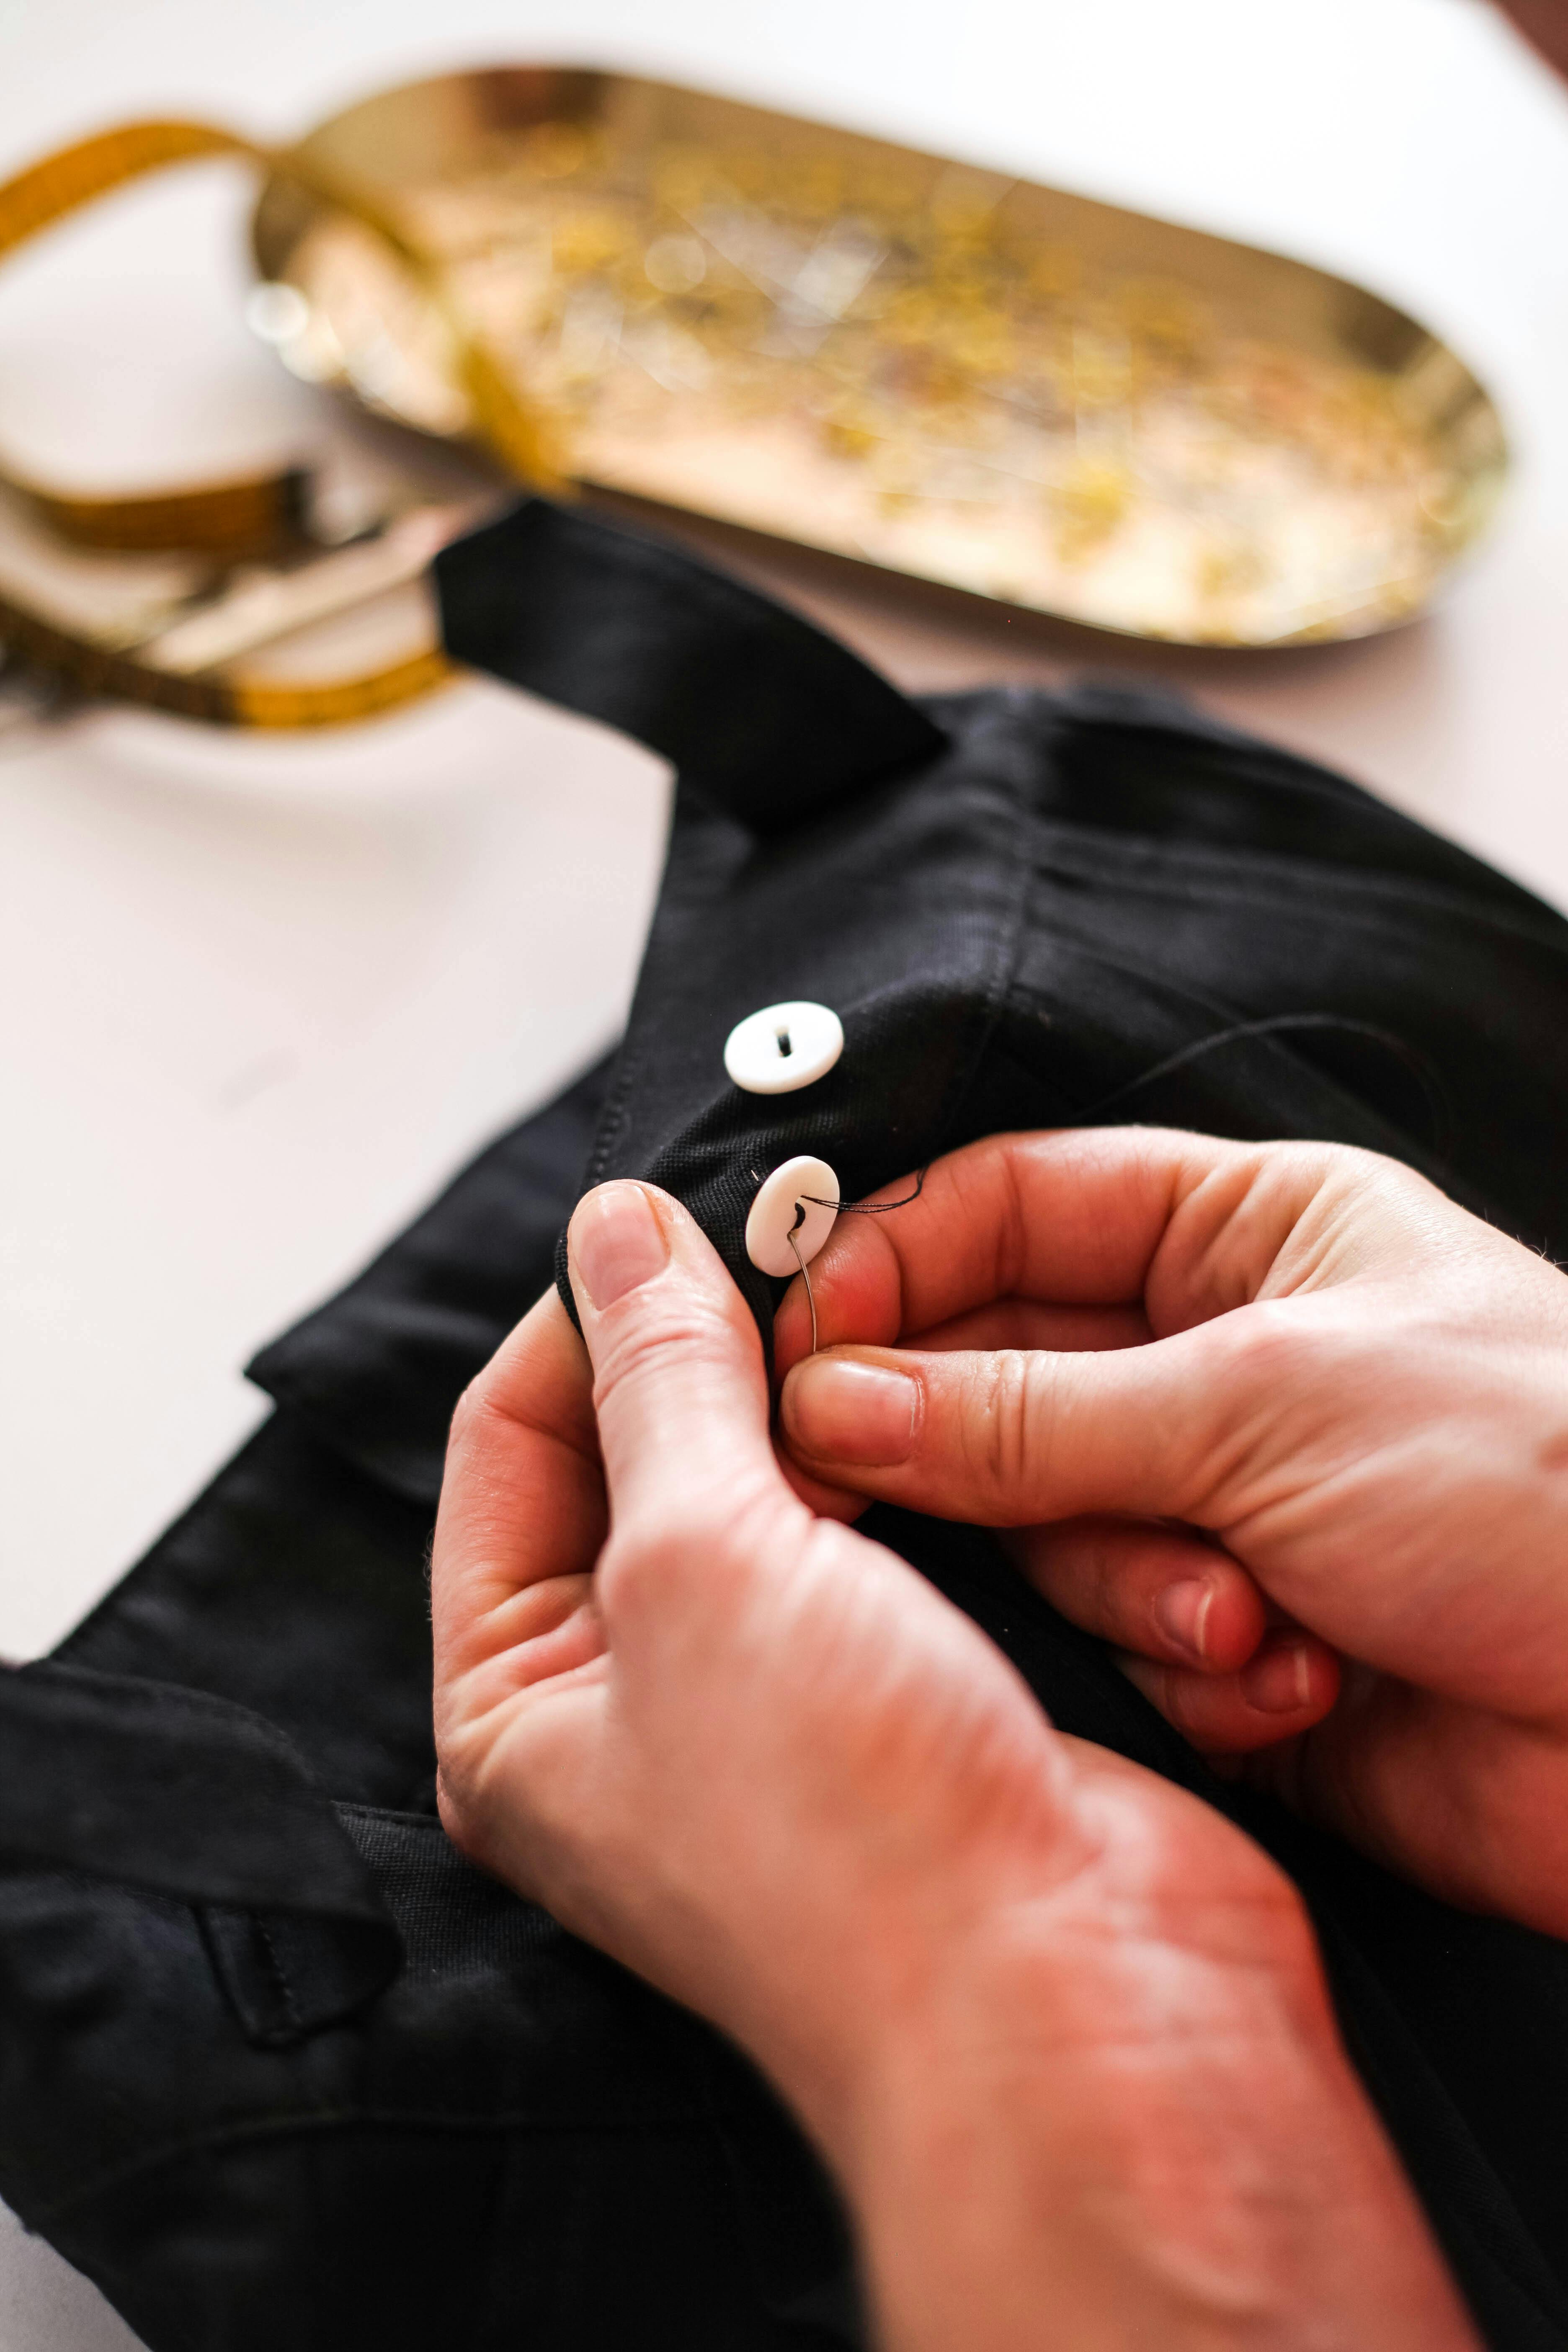
Sewing a button is a basic sewing skill that everyone should learn. Whether you’re repairing a garment or adding buttons to a new one, knowing how to sew a button can save you time and money. In this tutorial, we will guide you on how to sew a 4-hole button step by step.
Materials Needed
Before we begin, make sure you have all the materials you need. You will need a needle, thread, and a 4-hole button, these items are commonly found in a sewing kit. You can buy one in the store or make your own.
Tips for Sewing a 4-Hole Button
- Make sure the button is centered and straight before you start sewing.
- Use a thread that matches the color of the fabric or the button.
- If the fabric is thick, you may need to use pliers to pull the needle through the holes.
- If you want a more secure button, you can sew a shank onto the back of the button.
Steps to Sew a 4-Hole Button

Step 1
Thread the needle and tie a knot at the end of the thread.

Step 2
Insert the needle from the back of the fabric to the front where you want to place the button.

Step 3
Place the button on top of the fabric and insert the needle through one of the holes in the button.

Step 4
Bring the needle back through the opposite hole on the button and the fabric.

Step 5
Repeat steps 3 and 4 with the remaining two holes.

Step 6
On the back of the fabric, tie a knot with the thread and cut off any excess thread.
Conclusion
Sewing a 4-hole button is a useful skill that anyone can learn. With a few basic materials and some patience, you can easily sew a button onto any garment. The next time you lose a button, don’t panic, follow these steps, and you’ll be back in business in no time!


Leave a Reply